2 LAYER ROSE CAKE

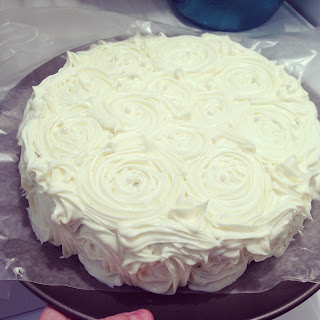
after posting the picture above a couple weeks ago of the rose cake i made for mother's day, i was asked how to do it and if it was difficult. it's really not very hard at all, so i thought i would post a "how-to" in case you'd like to try it yourself!
it has such a nice design, (it's very forgiving as well!) and it really doesn't take too long once you've made your cakes.
i've only tried this with store bought cake and frosting so far, and i definitely plan on trying it with homemade cake and frosting in the future! but here's what i have done the last few times i have made this cake.
STEP ONE:
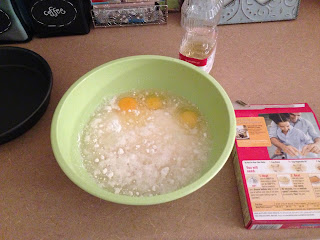
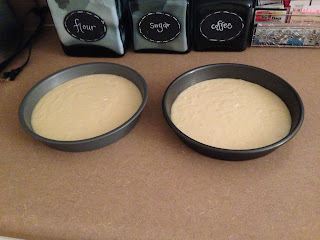
bake your cakes. you'll need 2 round cakes for this particular cake. if you make just one, it won't be tall enough on the sides for the roses. each box of cake mix will make 2 round cakes. bake according to directions on the box.

*tip: i always hand stir mine instead of using a mixer, and i always bake mine for a few minutes less than it says because i don't like my cakes overdone!

STEP TWO:
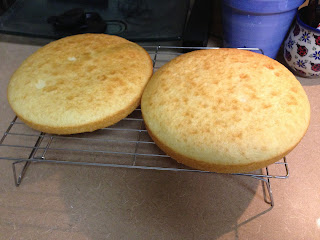
let your cakes cool completely. i take them out of the pan while still a bit warm and put them on cooling racks to finish cooling the rest of the way.

STEP THREE:
cut the tops of your cakes off to even them out to sit nicely on top of each other. this can be done with a knife, just carefully cut only the top off.


*tip: last time i made this, i used the cake crumbles from the tops to make cake pops! :)
STEP FOUR:
put some frosting on one of the layers, spread it out, and then layer the 2nd cake on top.


*tip: put the cut ends facing each other so that the top of the cake is the bottom of one of the rounds. this will make it flatter.

STEP FIVE:
crumb coat your cake. you can youtube videos on how to do this, but basically you're just putting a thin rough coat of frosting on the cake so that you can then cover it with the roses. once it's all the way covered, refrigerate the cake for just a few minutes to let it harden up.


STEP SIX:
while your cake is in the fridge, prepare frosting. for this cake, i added a few drops of green and blue coloring to make the roses easier to see :) you can use white (the most forgiving!) or any other color. i've also seen very fun ombre rose cakes on pinterest!
i used a wilton 1M tip. you can use a smaller one if you don't have this one, or you don't even have to use a tip, but it does look nicer with one.


put your tip in the bottom of your bag and then fill with frosting. you can use a resusable bag, a disposable bag, or even a ziploc bag!

i use these bags:

*tip: practice some roses over a bowl so that you can get the feel for how the frosting comes out
STEP SEVEN:
starting on one side of the cake, begin to make your roses. to make the rose, put the tip down and make a circular motion while using even pressure on the bag. (youtube videos are great for seeing this in action!)
try to get them to touch without overlapping. if you make a mistake, just simply use a knife to take the frosting off and try again! :)


STEP EIGHT:
once you have the sides covered with a row of roses, begin on the top. i work from the outside in.


you will have little spaces in between each of your roses. that's ok! we'll fill those up in a minute.

STEP NINE:
once you have the cake covered in roses (it goes quickly once you get started!), fill in your spaces. there are a few different ways to do this, but the way i do it is to put the tip of the frosting in the space and make a little swoop. fill in any spaces you find until the entire cake is covered in frosting.


STEP TEN:
i put mine back in the fridge for just a bit to harden it up. if you are using store bought cake and store bought frosting, you don't have to store it in the fridge - you can store it room temp as long as it's covered :)

when you are ready to serve, cut a piece! i love the layered look with roses on the top!
i hope you see this cake really isn't too difficult. give it a try next time you need to bring a dessert somewhere and you are bound to impress! :)

No comments:
Post a Comment